
Thinking about swapping your bike pedals? It’s a surprisingly easy job that can totally change how your e-bike feels, and you’ll likely just need one simple tool. You might have a 15mm pedal wrench or a 6mm/8mm Allen key in the garage already. The one crucial thing to remember is that the left pedal is a bit of an oddball—it has a reverse thread, so you'll turn it the opposite way (clockwise) to loosen it.
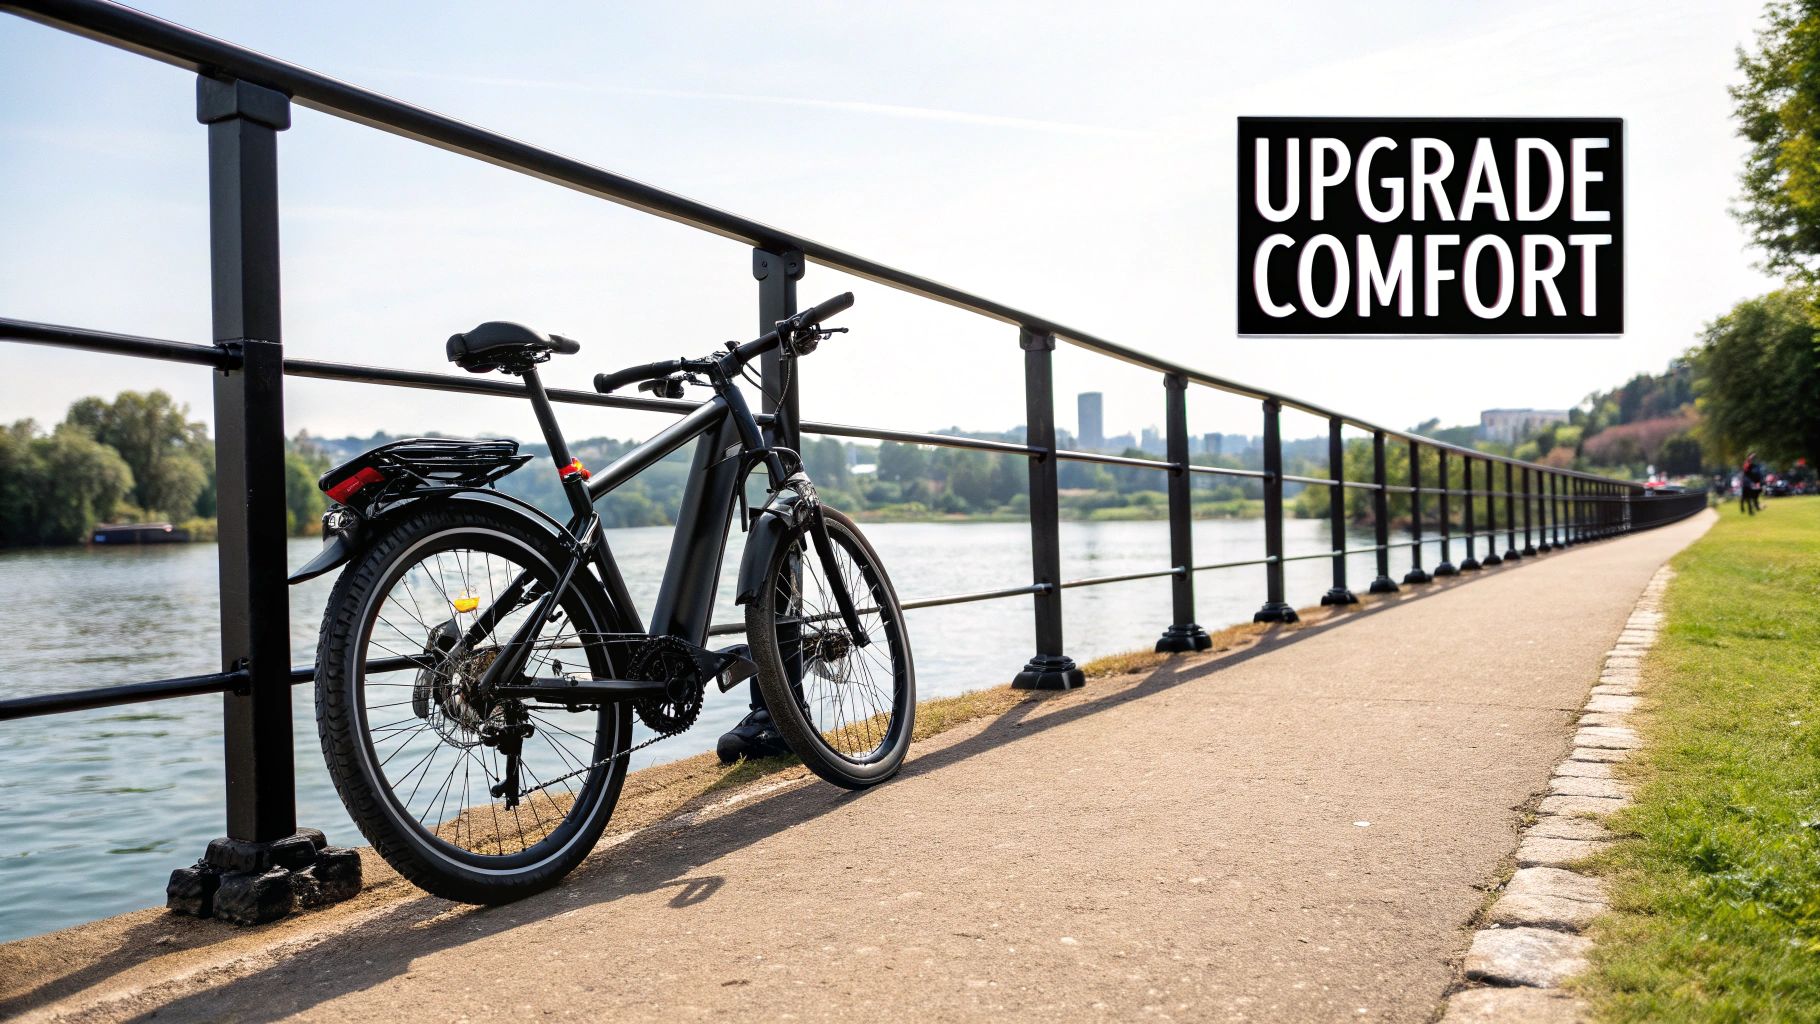
If you’re ready to upgrade your ride for better comfort, we recommend the Biktrix Sealed Bearing Pedals. They offer a wider, more stable platform that’s perfect for long, comfortable rides.
Why You Might Want to Change Your Bike Pedals
Swapping out your pedals might sound like a job for a seasoned bike mechanic, but it’s honestly one of the easiest and most satisfying upgrades you can make. Think of it as tailoring your e-bike to fit you and your adventures perfectly. You don't need to be a tech wizard; you just need to know why a new set of pedals can completely change your experience on the road or trail.
Many of us, especially those who prioritize comfort, find that the standard pedals that come with a new bike are... well, they're just okay. They get the job done, but they don’t always offer the best support or grip for the kind of riding you truly love.
Enhancing Your Comfort and Confidence
Imagine gliding along the Bow River pathway in Calgary or the scenic waterfront in Victoria. A wider, more stable pedal can make a huge difference, reducing foot fatigue and making those longer journeys much more pleasant. It gives your feet more space to rest on, which means less pressure on any single point. It's a small change that pays off big in overall comfort.
Better grip is also a massive confidence booster, especially with our unpredictable Canadian weather. If you’ve ever had your foot slip on a wet pedal during a classic rainy day in Vancouver, you know exactly how jarring that feeling can be. Upgrading to pedals with built-in pins or a grippy, textured surface creates a solid connection between your shoe and your bike.
That added stability is fantastic for navigating everything from bustling Edmonton city streets to the rolling trails around Kelowna.
A common misconception is that all bike parts are complicated. In reality, pedals are one of the most straightforward components to change, and doing so gives you immediate, noticeable benefits in how your bike feels.
Practical Reasons for a Pedal Swap
Beyond just comfort and confidence, there are plenty of practical reasons you might need to take your pedals off.
- Shipping or Transporting Your Bike: Boxing up your bike for a move or just trying to squeeze it into the car? Removing the pedals makes it much more compact and way easier to handle.
- Upgrading for Performance: Maybe you're tackling the hills around Saskatoon and want to try clipless pedals, which attach to special shoes for a serious boost in pedalling efficiency.
- Replacing Worn or Damaged Pedals: Let's face it, pedals take a beating. After a few seasons, they can get worn down, damaged, or start feeling loose. A fresh set can make your whole bike feel brand new again.
Ultimately, learning how to change your own pedals puts you in the driver's seat. It's an empowering skill that saves you a trip to the bike shop and lets you fine-tune your ride for maximum enjoyment. For a fantastic all-around upgrade, check out the improved grip and durability of our Biktrix Sealed Bearing Pedals—they're a popular choice for riders looking for that next level of comfort and reliability.
Getting Your Toolkit Ready
Before you begin, let's talk about getting set up for success. Having the right gear on hand is the difference between a quick five-minute job and an afternoon of pure frustration. It’s like trying to cook a great meal; you’ll have a much better time if all your ingredients are prepped and ready to go.
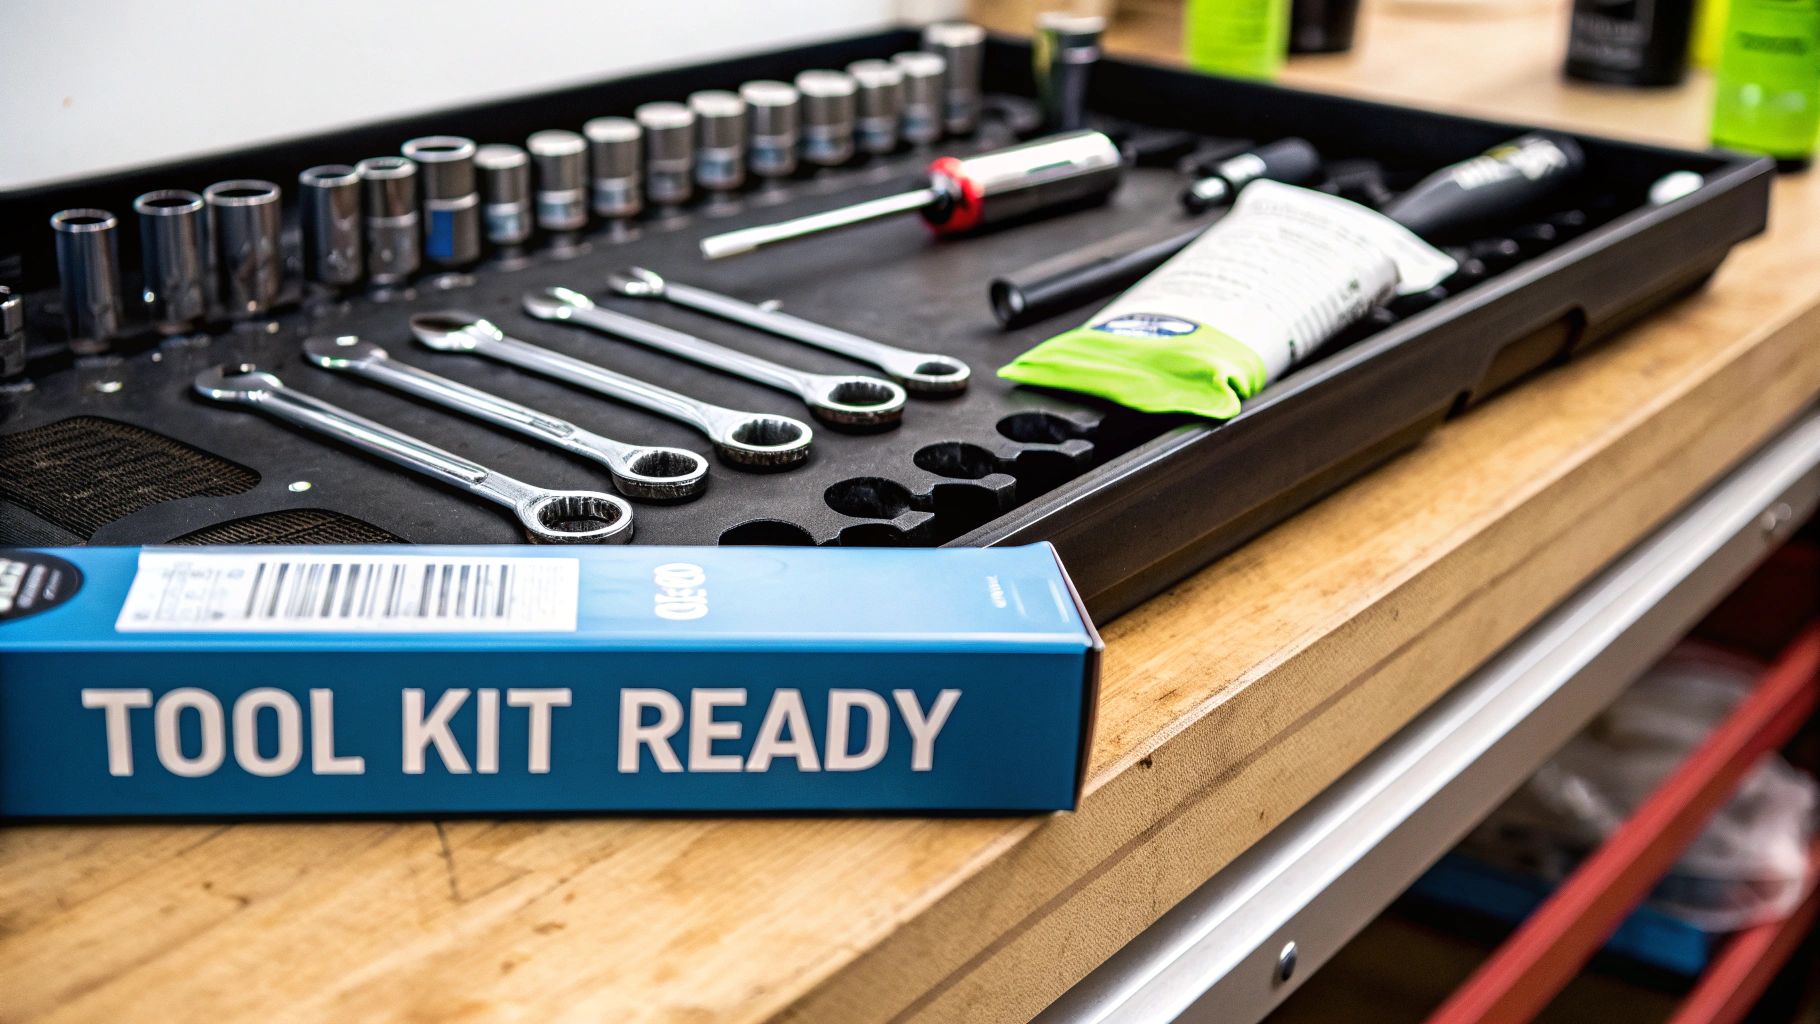
Don't worry, you don’t need a pro-level workshop. Just a few key items will do the trick. The best part is that these tools are pretty simple, won't break the bank, and you'll find they come in handy for all sorts of other bike tune-ups down the road.
Pedal Wrench vs. Allen Key: What's on Your Bike?
The single most important tool is the one that actually fits your pedals. A quick look will tell you exactly what you're working with, as there are two main types.
Many pedals have a couple of flat spots on the axle, right where it screws into the crank arm (the big lever your pedal is attached to). If you see those, you'll need a 15mm pedal wrench. You might have a standard 15mm wrench in your toolbox, but a dedicated pedal wrench is much thinner, so it can easily slip into that tight space, and its longer handle gives you more leverage.
Other pedals, especially newer ones, don't have those flat spots. Instead, they have a hex-shaped hole on the very end of the axle. For these, you’ll need an Allen key (also called a hex key), usually a 6mm or 8mm. Just peek at the end of the pedal axle to see if that socket is there.
The Little Extras That Make a Big Difference
Beyond the main tool, a couple of other things can make this job go smoothly. Think of these as your secret weapons.
- A Rag or Old Towel: You'll need this to wipe down the crank arm threads and get rid of any old, gunky grease before putting your new pedals on. A clean connection is a happy connection.
- Bike Grease: This is non-negotiable. Applying a tiny bit of fresh grease to the threads of your new pedals is what stops them from seizing up over time. It’s the one step that guarantees your next pedal swap will be just as easy.
- Penetrating Oil (Optional, but smart): If your bike has seen a few too many rainy rides on the coast or dusty trail days, your pedals might put up a fight. A quick spray of penetrating oil can work magic on a seized pedal, breaking down any corrosion that's holding it hostage.
Honestly, getting these few things ready before you start is what turns a potential struggle into a simple, confidence-boosting bit of bike maintenance. Preparation is truly 90% of the work.
Don’t have this stuff just lying around the garage? No sweat. We’ve put together some great options specifically for new e-bike owners. You can check out our lineup of high-quality bike maintenance tools to get exactly what you need for this job and plenty of others.
Essential Tools for Pedal Removal
| Tool | What It's For | Why It's Recommended |
|---|---|---|
| 15mm Pedal Wrench | Removing pedals that have flat wrench spots on the axle. | Its thin profile and long handle give you a better fit and more leverage than a standard wrench, preventing slips and scraped knuckles. |
| 6mm or 8mm Allen Key | Removing pedals with a hexagonal socket on the end of the axle. | It’s the only tool that fits this modern pedal style, so it's a must-have if that's what your bike uses. |
| Bike Grease | Applying to the threads of the new pedals before you install them. | This is the secret to preventing pedals from getting seized in the future, making the next removal a breeze. |
| Penetrating Oil | Loosening pedals that are stuck and refusing to budge. | A few sprays can break down corrosion, saving you a ton of time and effort on a stubborn pedal. |
| Clean Rag | Wiping down threads and cleaning up any excess grease. | Ensures a perfectly clean connection for your new pedals and keeps your bike and hands from getting messy. |
With these tools laid out, you're ready to tackle the job with confidence.
The Most Important Trick for Pedal Removal
If there’s one secret handshake in the world of bike maintenance, this is it. Nailing this one simple concept is what separates a frustrating afternoon wrestling with your bike from a quick, two-minute job. It’s the one detail that trips up almost everyone at first, so let’s get it straight.
Your left and right pedals are threaded in opposite directions. This isn't a quirky design flaw; it's a brilliant bit of safety engineering that keeps your pedals from flying off mid-ride. Once you wrap your head around it, you'll never forget it.
Right Pedal, Normal Rules
Let's start with the easy one. The right pedal, on the same side as your bike's chain and gears, has a standard thread. This means it follows the classic rule we all learned as kids: "righty-tighty, lefty-loosy."
To remove the right-side pedal, you just turn your wrench to the left (counter-clockwise). It’s completely straightforward, just like loosening a jar lid.
Left Pedal, The Reverse Rule
Now for the twist. The left pedal—the one on the non-chain side—is reverse-threaded. This is what catches people off guard. To loosen and remove this pedal, you must turn your wrench to the right (clockwise). Yes, you read that correctly. You turn it in the "tighten" direction to loosen it.
This clever design prevents the pedal from unscrewing itself while you ride. The natural motion of your pedalling would otherwise work the left pedal loose over time. Imagine cruising through Vancouver's Stanley Park or along the Edmonton River Valley; this feature ensures your pedals stay securely attached, no matter how far you go.
The simplest way to remember which way to turn is this: no matter which pedal you're working on, always turn your wrench toward the back of the bike. Position the wrench, and then push it toward the rear wheel. This trick works for both sides, every single time.
Why This Matters for You
Accidentally turning a pedal the wrong way doesn't just waste your energy; it can cause real problems. If you apply a lot of force in the wrong direction, you can crank the pedal down so tightly that it becomes nearly impossible to remove later. Worst case, you could even strip the threads on your crank arm, which is a much bigger and more expensive job to fix.
By taking a moment to confirm which pedal you're on and which way to turn, you ensure the whole process is smooth and stress-free. It protects your bike, saves you a headache, and builds your confidence as a home mechanic. You'll find a great selection of wrenches and other essentials in our collection of Biktrix maintenance tools to help you get the job done right. Mastering this one concept is the absolute key to successful pedal removal.
Your Guide to Removing Bike Pedals
Alright, let's get our hands dirty—but not too dirty. This is where the wrench meets the crank arm, and with a bit of guidance, you'll see it's a surprisingly simple job. We'll walk through it together, step by step, so you feel confident and in control.
The secret here isn't brute strength; it's all about leverage. By positioning your bike and tools smartly, you let physics do the heavy lifting for you. We’ll start with the right pedal and then move on to its tricky, reverse-threaded sibling on the left.
Positioning for Success
First things first, get your bike secure. Leaning it firmly against a wall or having a friend hold it steady works just as well as a professional bike stand.
Here’s a pro tip: shift your chain onto the largest chainring at the front. This simple move acts as a guard, protecting your knuckles from those sharp chainring teeth if your wrench happens to slip.
Now, rotate the crank arm for the pedal you’re removing so it’s pointing forward, parallel to the ground—think the 3 o’clock position. This gives you the perfect angle to push down on the wrench, using your body weight for steady, controlled force.
Removing the Right Pedal (The Easy One)
Let's start on the chain-side of the bike.
- Fit your 15mm pedal wrench or Allen key securely onto the pedal axle. You want a really snug fit to avoid stripping the nut.
- The old saying holds true here: "lefty-loosy." You'll be turning the wrench counter-clockwise, which means pushing it toward the back of the bike.
- Apply firm, steady pressure downwards. Don't jerk it. You should feel a distinct "pop" as the thread breaks free. That's the sound of success!
Once it's loose, you can usually unscrew the rest of the pedal by hand. See? Simple.
Tackling the Left Pedal (The Reverse One)
Time for the left pedal, the one that plays by its own rules. The process is the same, but the direction is flipped.
- Rotate the left crank arm forward to that same 3 o'clock position.
- Seat your wrench securely on the axle, making sure it’s on there tight.
- To loosen this side, you have to turn the wrench clockwise. Just like before, pushing the wrench handle toward the rear of the bike is the correct motion.
- Apply that same steady, downward pressure until it breaks loose, then unscrew it the rest of the way.
This handy visual breaks down the turning direction to make it even clearer.
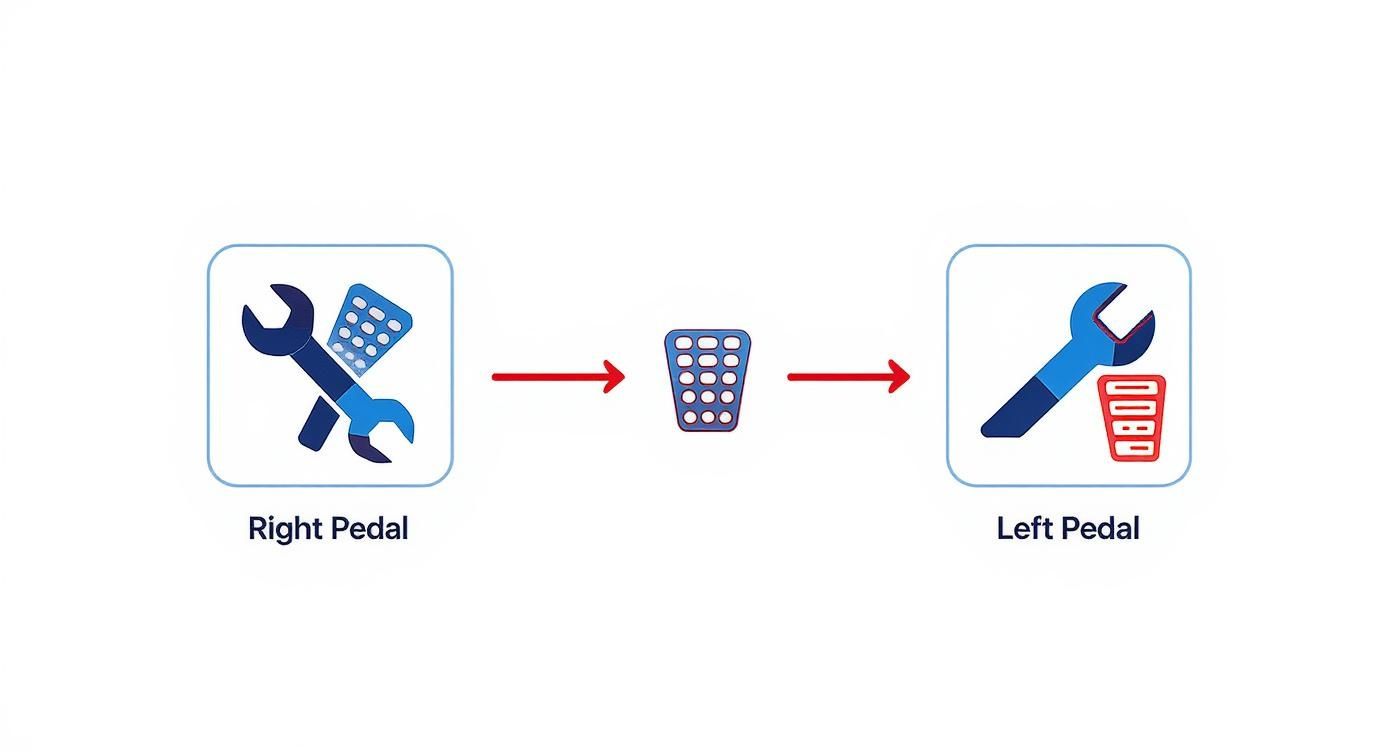
The golden rule is simple: always turn your wrench toward the back of the bike to loosen a pedal, no matter which side you're on.
A Special Note for E-Bike Riders
If you're working on a Biktrix e-bike with a mid-drive motor, just be a bit more mindful of your wrench placement. The motor housing sits right behind the crank arms, so make sure your wrench has a clear path to turn without accidentally scratching or bumping the casing.
Sometimes, the crank arm itself can be stubborn if you're doing a deeper service. If you find yourself in that spot, a specialized tool is your best friend. For those bigger jobs, using the right equipment like an Ultra Crank Arm Puller can save you a world of frustration.
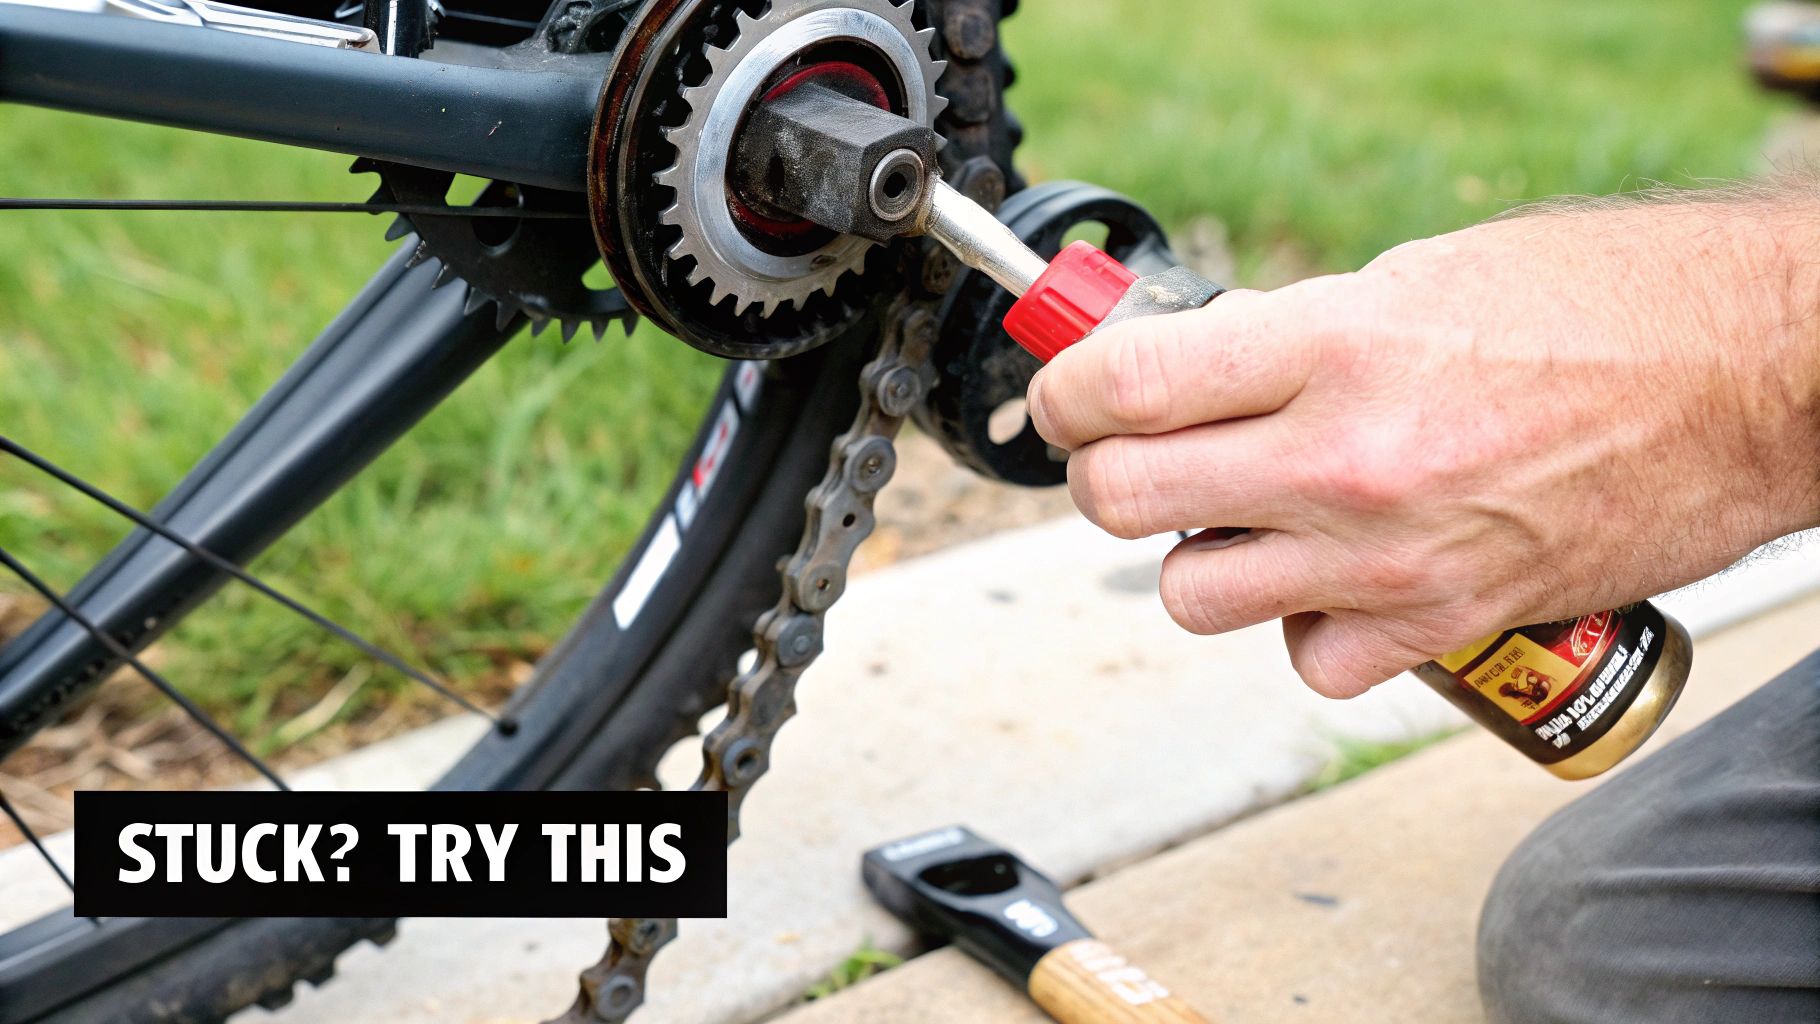
How to Handle a Stuck Bike Pedal
You've got your wrench, you're turning it the right way, and… it's not moving. At all. A pedal that feels like it’s been welded to the crank arm is a classic problem, and you’re not alone. Don't worry, this happens to the best of us. Usually, it's the result of being installed without grease years ago, or from moisture and grit working their way into the threads.
This is a common frustration, especially for bikes that have seen a few tough Canadian winters. The good news is that with a little patience and a few tricks from the mechanic's playbook, you can almost always win this battle.
Start with Penetrating Oil
Your first and best move is to grab some penetrating oil. This isn't the same as a lubricant; it's a special, thin liquid made to seep deep into the tiny crevices of threaded parts, breaking down rust and gunk.
Spray a generous amount right where the pedal axle screws into the crank arm. Now, the key is patience. Let it work its magic for at least 15-20 minutes. For a really stubborn pedal, you might even want to let it soak overnight. Once it’s had time to sit, give it another go with firm, steady pressure.
A little soak can make all the difference. It transforms a battle of brute force into a simple task. Think of it as convincing the pedal to let go, rather than forcing it.
Safely Add More Leverage
If the oil alone didn't do the trick, your next move is to increase your leverage. This lets you apply more force without having to strain as much. A common workshop hack is to use a "cheater bar"—a hollow pipe that you can slide over the handle of your wrench to make it longer.
But be careful here. A longer handle means more force, which can cause the wrench to slip if you're not careful.
- Get a Secure Fit: Double-check that your wrench is perfectly seated on the pedal flats. No wobbling!
- Apply Controlled Pressure: Use your body weight to push down smoothly and steadily. Avoid sharp, jerky movements that can make you lose your footing or, worse, strip the bolt.
- Keep Your Knuckles Clear: Position your hands so that if the wrench does slip, you won't smash your knuckles into the chainring.
The principles for freeing a stuck pedal are similar to other common workshop fixes. If you’re really stuck, applying techniques from a guide on how to get a stuck screw out can offer some great alternative strategies.
Gentle Persuasion with a Mallet
Sometimes, a sharp but controlled impact can break the seal of corrosion where steady pressure fails. Grab a rubber mallet. With your wrench held firmly in place on the pedal, give the end of the wrench handle a few solid taps in the loosening direction. That little vibration can be just enough to jar the threads loose.
Know When to Ask for Help
You've tried the oil, the extra leverage, and even given it a few taps, but that pedal is still holding on for dear life. At this point, continuing to apply extreme force risks damaging the crank arm, and that's a much bigger problem to solve. This is the moment to call it a day and get some professional help.
There's absolutely no shame in it. Even experienced mechanics run into parts that require specialized tools or techniques. If you're near one of our showrooms in Vancouver, Saskatoon, or our other Canadian locations, our friendly team would be happy to help you out.
Once you finally get that stubborn pedal off, make sure the crank arm threads are spotless before putting new ones on. A quality product is perfect for getting those threads sparkling clean for a fresh start.
Common Questions About Bike Pedal Removal
We get a lot of great questions from our riders across Canada, and when it comes to taking pedals off, a few pop up time and time again. From our showrooms in Vancouver to our service centre in Saskatoon, we've heard them all. Let's clear up some of the most common queries so you can feel totally confident tackling this job.
Do I Really Need a Special Pedal Wrench?
You might notice that a standard 15mm wrench from your toolkit seems to fit, but we strongly recommend sticking with a dedicated pedal wrench. Think of it as using the right tool for the job—it just works better and saves you a ton of potential frustration.
A proper pedal wrench is much thinner, designed to slide neatly into that tight space between the pedal and the crank arm where bulkier wrenches just can't go. More importantly, its long handle gives you way more leverage. This means you can apply smooth, steady force to break a stubborn pedal free without straining. It’s safer, too, massively reducing the chance of slipping and scraping your knuckles or your bike's paint job. It's a small investment that makes the whole task so much easier.
Why Is My Left Pedal Reverse Threaded?
This is a fantastic question, and the answer is a perfect example of brilliant, safety-focused bike engineering. It all comes down to a bit of physics called "precession." As you pedal forward, the rotational force you create would naturally cause a normally-threaded left pedal to slowly work itself loose over time.
To stop that from happening, engineers simply reversed the threading on the non-drive-side (left) pedal. This clever trick means your own pedalling motion constantly works to keep the pedal tight and secure. It’s a simple, elegant solution that ensures your pedals stay exactly where they belong, whether you're cruising the Seawall in Vancouver or navigating the streets of downtown Calgary.
The reverse-threaded left pedal is one of the oldest and most effective safety standards in bicycle design. It’s a solution that has kept cyclists safe for over a century, long before e-bikes were even a dream.
Can I Damage My Bike Removing Pedals?
It’s definitely possible, but it’s also very easy to avoid. The two most common mistakes are forgetting about the reverse-thread rule and cranking the left pedal the wrong way (which only tightens it), or not seating the wrench properly on the flats of the axle.
When the wrench isn’t fully engaged, it can slip under pressure, rounding off the pedal axle or gouging your crank arm. To prevent this, always take a moment to double-check your turning direction: toward the back of the bike loosens both sides. Make sure the wrench has a firm, solid grip before you put your weight into it. Using smooth, controlled pressure instead of jerky movements is the key to removing your pedals without leaving a single mark.
What Should I Do Before Installing New Pedals?
Getting your new pedals on correctly is just as important as taking the old ones off. A little prep work here will make your life so much easier the next time you need to remove them.
First, grab a clean rag and wipe out the threads inside the crank arm. You want to clear out any old grease, dirt, or metal shavings.
Next, apply a thin layer of fresh grease to the threads of your new pedals. Don't skip this! This tiny step is crucial—it prevents the steel pedal threads from seizing to the aluminum crank arm over time, a nasty problem called galvanic corrosion.
Finally, always start threading the new pedals in by hand. For the first few rotations, use just your fingers. This guarantees they are going in straight and you won't cross-thread them. Once they're finger-tight, you can finish the job with your wrench until they're snug and secure.
At Biktrix, we believe that maintaining your e-bike should be a simple and rewarding experience. If you're looking for an upgrade that combines comfort, safety, and a touch of modern tech, check out our innovative Arclight Pedals with smart LED lights to keep you visible on every ride.
